Thursday, July 7, 2011

Balsamic Onion and Prosciutto Pizza

This pizza is delicious!
Holy cow it is good!
 I could have eaten the entire pizza but I was well behaved and controlled myself.
All I've gotta say is, "YUM!"

I adapted the recipe from my new Bon Appetite cookbook and I gotta tell ya, I'm seriously in love with it. Go to your local book store and grab this book. I've been cooking all of my dinners and not one single recipe has been a stinker. They have all be delicious and extremely unique!

Here is what you are going to need for the Dough:
-1-1/2 cups All Purpose Flour
-1-1/2 tsp Kosher Salt
-1/2 cup Warm Water
-1 tsp dry Yeast from envelope
-1-1/2 tbsp Olive Oil
-1 tbsp Honey

Mix flour and salt in your stand mixer or food processor. Pour the warm water into a small bowl and sprinkle the yeast over the water and stir to combine. Let the yeast stand for 10 minutes until it dissolves. Pour the yeast mixture into the bowl of flour. Add honey and olive oil. Mix and knead the dough until it becomes smooth and elastic. Preheat your oven to 170 degrees and then turn it off. Cover the bowl with plastic wrap and place it in the warm oven for 1 hour. Set on the countertop and let it continue to slowly rise until you need it.

For the Toppings:
-2 tbsp + 1/4 cup Olive Oil
-1 large Red Onion, thinly sliced
-2 tbsp Worcestershire Sauce
-2 tbsp Balsamic Vinegar
-2 cloves Garlic, chopped
-1 large roasted Red Bell Pepper from a jar, thinly sliced
-1-1/2 cups part-skim Mozzarella, grated
-3 tbsp grated Parmesan cheese
-3 thin slices of Prosciuto, sliced crosswise into thin strips
-1/4 tsp dried Thyme
-1 tsp Balsamic Vinegar

Heat 2 tbsp of Olive Oil in a medium skillet over medium-high heat. Add the onions and saute until golden brown (about 15-20 minutes). Add Balsamic Vinegar and Worcestershire Sauce. Reduce the heat to medium-low until the liquid evaporates (about 4 minutes). Season to taste with salt and pepper.

In a small saucepan, heat the remaining 1/4 cup of olive oil over medium-low heat. Add the garlic and saute until garlic is just barely brown. Using a slotted spoon, remove the garlic and reserve it in a small dish. Pour the garlic infused oil into a seperate bowl.

Preheat the oven to 500 degrees (F) and position the rack on the lower third section. Roll out dough into a 12 inch diameter on a floured surface. Brush 1 tbsp of the garlic infused oil on the dough, leaving a 1/2 inch plain border. Sprinkle the cheese on top of the oil, then the reserved garlic, balsamic onions and the roasted red peppers. Sprinkle evenly 3 tbsp of grated Parmesan cheese.

Bake for 6 minutes and then rotate the pizza pan and bake for 6 more minutes until the crust is golden brown. Arrange the prosciutto on top of the pizza and bake for 1 minute more to warm the prosciutto. Remove the pizza from the oven onto a cutting board, sprinkle with thyme and drizzle the rest of the garlic olive oil and about 1 teaspoon of balsamic vinegar over top the pizza.

Dig in and enjoy!


Wednesday, July 6, 2011

I'm the Birthday Girl!

On this day, 23 years ago, I was born. To celebrate, this is what I did today.....

1. Slept in till 9:00 because I didn't have work and Dusty made me Toad-in-a-Hole for breakfast. One of my favorites!

2. Did my Zumba workout to prepare for all the naughty food I was going to eat today.

3. Took a shower, relaxed, read my favorite blogs and drooled over some recipes online.

4. Went to lunch at Jakes (my favorite restaurant of all time!) and had Yellowfin Tuna Fish Tacos with an ice cold Caesar to wash it down.

5. Went home and watched Dusty make my cake. It was really cute watching him bake my birthday cake. It made me twitterpated.

6. After the cake was finished, we headed to the candy store because I'm a big kid at heart who loves candy! I got some Sour Patch Kids.

7. I snuck my Sour Patch Kids into the movie theater as we watched Transformers 3 because the knock off brand called "Sour Jacks" at the movie theater is horrible! I love sneaking candy into the theater, it makes me feel like a rebel.

8. Three hours later after the very long movie, Dusty and I headed home and I made Julia Child's Supremes de Volialle aux Champignons while wearing my pearls. She was definitely there in spirit for dinner! Then we enjoyed our creamy chicken by candle light and loved every bite of it!

9. I just now finished my slice of birthday cake and I am definitely full from all the yummy/naughty food I enjoyed today. Dusty's cake that he made me for my birthday turned out delicious and absolutely beautiful! It's a Lemon-Blueberry Cake with White Chocolate Frosting, and it was so good!

All in all, I had a wonderful birthday that was fun and filled with good food!
Thanks for all the birthday wishes today, I feel loved :)

Tuesday, July 5, 2011

My Mom's Coffee Cake

This coffee cake is pretty much a staple in my family. If there is a holiday or special breakfast, my mom always makes this coffee cake. I've tried helping her in the past making the cake and I somehow always mess it up! I tend to forget that I need to reserve some of the dry ingredients for making the crumb topping and then the cake ends up really dry. OOPS!


I was so excited and relieved because on the 4th of July I made the coffee cake for breakfast when Dusty's family came to visit for the holiday weekend and it turned out perfectly. Yay for overcoming the dry icky cake and making it super moist and wonderful. I definitely made my mom proud!

If you are having a special get-together or holiday breakfast, you have gotta make this coffee cake!

Here is what you are going to need:
-2 cups All Purpose Flour
-2 tsp Baking Powder
-1 tsp Salt
-3/4 cup White Sugar
-2 tbsp cold Butter
-1 cup Milk

For the Topping:
-2 tbsp melted Butter
-1/2 tsp Ground Cinnamon
-3 tbsp Brown Sugar
-3/4 cup Reserved Dry Ingredients from Cake

In a mixer or food processor, combine flour, baking powder, salt, sugar and cold butter. Reserve 3/4 cup of the mixture for the topping. Add 1 cup of milk to the original cake mixture and mix until smooth.
*You don't want to over mix because then the cake will be tough!*
Pour the batter into a greased 8x8 baking dish.

Now for the crumbly topping!

Combine the melted butter, cinnamon, brown sugar and 3/4 cup reserved cake mixture. Mix well and sprinkle on top of the cake batter.

Bake for 30-35 minutes at 350 degrees until slightly golden brown and the toothpick comes out clean.
Your family and breakfast guests will go nuts over this cake!
Also, make sure to have some milk on hand :)
Enjoy!

Print Recipe Here!

Friday, July 1, 2011

Salmon with Tomato-Basil Sauce

Summer has finally arrived in Montana this week and my body doesn't quite know how to handle it. I was so use to freezing and living in my sweats, I'm kinda freaking out that I have to wear shorts and show my white legs to the world. I don't mean to get all political, but after the winter we had here in Montana, I doubt global warming is really an issue anymore Mr. Gore! But I'm not complaining about the beautiful weather now because there is nothing like summertime in Montana.

But you didn't stop by my website for the weather, you stopped by because you wanted to see this fresh summer recipe for Salmon with a Tomato-Basil Sauce! When I saw on America's Test Kitchen that they were having a "Salmon" challenge, I knew I had to make this dish because it only requires the oven to be on for 5 minutes and tastes great! You just broil the salmon for 5 minutes and turn it off. Nobody wants to have the oven on when it's 90 degrees outside!

Not to mention how bright and colorful this dish is...it's fantastic!
Plus it's healthy too!

Here is what you are going to need for 2 servings:
-1/2 lb Roma Tomatoes-seeded and chopped
-1/3 cup chopped fresh Basil
-1/8 cup Olive Oil
-1/2 Shallot-chopped
-2 tsp Lemon Juice
-1-1/2 tsp drained Capers
-2 (4-6 oz) Salmon Filets
-More Olive Oil (for brushing on the salmon)
-Salt and Pepper

Combine the first 6 ingredients in a small bowl. Stir to combine and season with salt and pepper to taste.

Preheat your broiler and place some aluminum foil on a baking sheet. Brush both sides of the salmon with olive oil so it doesn't stick to the foil and season with salt and pepper. Arrange the salmon on the baking sheet with the skin side down. Broil for 4-5 minutes until the salmon is opaque and the top chars slightly.

Transfer the salmon to your plates and spoon the fresh tomato-basil sauce over the fish. Enjoy with a salad and some crusty/toasted bread! The sauce is amazing if you spoon some on the bread too!

Wednesday, June 29, 2011

4th of July Cook-Out Goodies

The 4th of July is one of my favorite holidays because it reminds me of camping, going to the lake, hot sunny days (sometimes snowy in Montana) and really good food!

Here are some great food that would be great for your holiday weekend BBQ's and parties!

Appetizers

Main Course

Side Dishes

Desserts

I hope this gives you some ideas for what to make for the 4th of July holiday weekend!


Tuesday, June 28, 2011

Sauteed Radishes & Sugar Snap Peas

Tonight I made a delicious dinner #2 out of my new cookbook and it had me licking the plate! For the main course I made a goat cheese and basil stuffed chicken breast with a mushroom-wine sauce that was to die for. Unfortunately, I had to work late tonight and was unable to get any pictures of it due to lack of sunlight.

But fortunately for you, I was able to sneak in a picture of the side dish I made to go along with my chicken before the sun disappeared for the night. I've only had radishes once before in my life, which was at a cooking class 2 weeks ago with Chef Cynthia, but this dish made me officially love them! I wish that I had actually made the full recipe of 4 servings instead of 2 because it was so tasty!

Here is what you are going to need for 4 servings:
-1 tbsp Butter
-1 tbsp Olive Oil
-1/2 cup thinly sliced Shallots
-12 oz Sugar Snap Peas, trimmed and strings removed
-2 cups thinly sliced Radishes (about 1 large bunch)
-1/4 cup freshly squeezed Orange Juice
-1 tsp dry Dill Weed

Melt the butter with olive oil in a large skillet over medium heat. Add shallots and saute until golden, about 5 minutes. Add sugar snap peas and radishes and saute until cripy-tender, about 5 minutes. Add orange juice and dill weed, stir for 1 minute. Season with salt and pepper to taste.

That's it! This side dish is super simple, fast to make and really good!
Enjoy!
Monday, June 27, 2011

Yellow Rice Salad with Roasted Peppers and Spicy Black Beans

I have a new favorite cookbook...The Bon Appetite Cookbook!
1,200 recipes of yumminess and I've been excessively drooling over them ever since I bought it on Saturday. I love to read my cookbooks almost like they are novels. Do you ever do that? I just love to read cookbooks!

To really break in this new cookbook I'm making my whole week of dinners from my new book. I think I might even make my cake from this book for my birthday next week too!
Who wouldn't want a Lemon-Blueberry Cake with White Chocolate Frosting for their birthday???
Can my birthday be tomorrow? I don't think I can wait a week to make it!

The first recipe I made for dinner last night was something totally out of my comfort zone. The combination of spices, peppers, beans and rice is so different from what I normally cook, I had to give it a try! I was really worried Dusty wouldn't like it because it does have such unique flavors, but he and I both gobbled it up. I even had some leftovers for lunch today...it was that good!
I think my favorite part of this dish is the vibrant colors!
Absolutely gorgeous!

Here is what you are going to need for 4 servings:
-4 tsp Ground Cumin, divided
-1/4 cup Lime Juice
-2-1/2 tbsp Canola Oil
-1/2 tsp Turmeric
-2 cups Water
-1 cup Long Grain Rice
-1 tsp Kosher Salt
-1/2 cup thinly sliced Green Onions
-1 (15 oz) can of Black Beans, rinsed and drained
-1/2 cup chopped Roasted Red Pepper from a jar
-1/2 cup chopped Green Bell Pepper
-1/3 cup chopped fresh Cilantro
-1-1/2 tsp minced canned Chipotle Chiles

I find it really easy when cooking recipes with a lot of ingredients that require chopping, mincing, measuring, etc. to do the prep work beforehand. It's very convenient and plus it makes you feel like a Food Network Star!


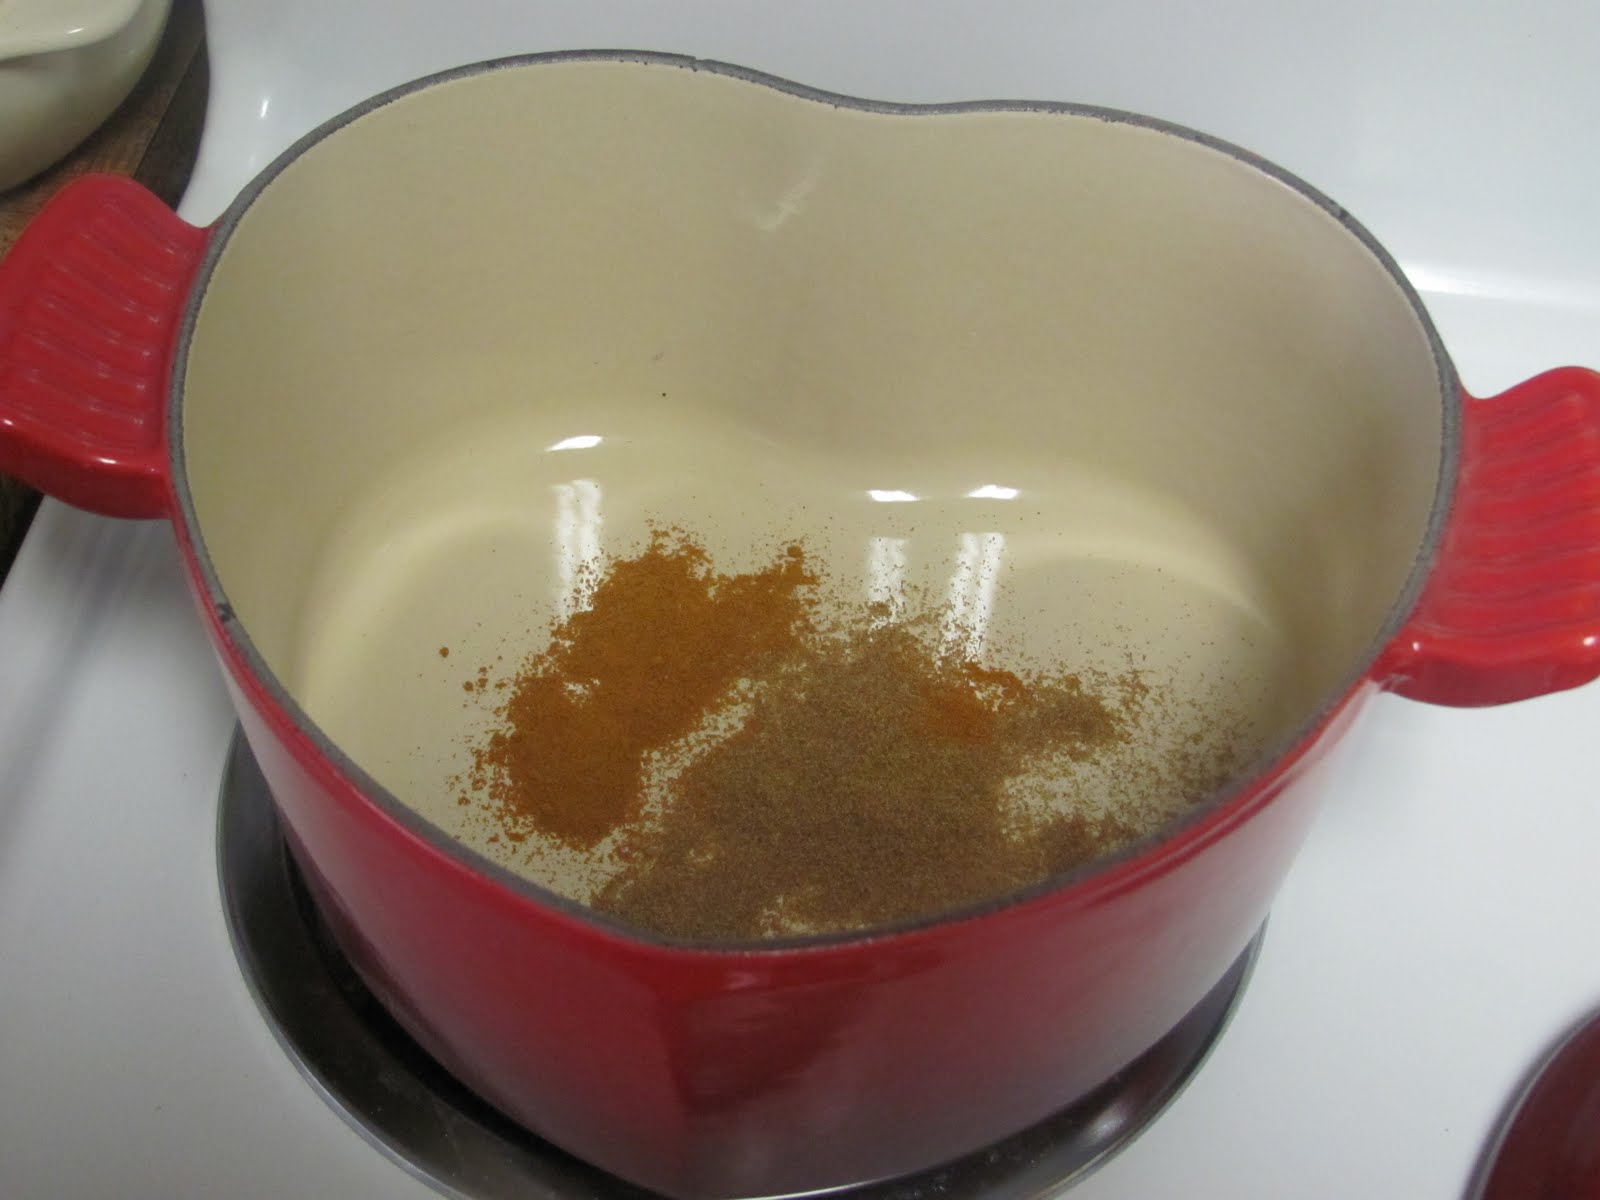
Stir 3 tsp of Cumin in a small dry saucepan over medium heat just until fragrant, about 1 minute.

Remove the saucepan from heat and whisk in the lime juice and canola oil. Set the cumin dressing aside.

Stir the turmeric and remaining 1 tsp cumin in a heavy medium saucepan over medium heat until fragrant, about 1 minute.

Add 2 cups of water, 1 cup of rice and 1 tsp of salt; bring to a boil and then reduce heat to low, cover and simmer for 15 minutes. Cool rice.


Once the rice has cooled, mix in the green onions and half of the cumin dressing into the rice. Season with salt and pepper to taste.

Ta-Da!
The Yellow Rice Salad is complete!

Now it is time for Part 2...The Roasted Peppers and Spicy Black Beans :)

In a mixing bowl, combine the black beans, roasted red peppers, green peppers, cilantro, chipotle chiles and remaining cumin dressing. Toss to coat and season with salt and pepper to taste. Totally easy and tasty!

For gorgeous presentation when serving this dish, mound the black bean mixture in the center of the platter and surround it with the yellow rice salad. Serve with warm tortillas and drizzle some warmed sour cream.
If any of the dishes in my new book are as good as this one, Dusty and I are in for some really good food! I'll be sharing the recipes that I make for dinner this week, so you will be too!

Sunday, June 26, 2011

Graham Cracker Cookies

These graham cracker cookie bars are one of the first desserts Dusty and I made together when we first started dating about 4 years ago. I'm actually surprised that I haven't posted this recipe before because it's one of my favorite treats to make and eat! This dessert is great for beginnners, like I was because it is no-bake and super simple. Dusty and I love this dessert so much and it is perfect for hot summer days!

Here is what you are going to need:
-1 box of Honey Graham Crackers
-1-1/2 sticks of Butter
-1 cup Sugar
-1 Egg
-1/2 cup Milk
-1 cup chopped Walnuts or Pecans
-1 cup shredded Coconut

Topping:
-2 cups Powdered Sugar
-1 tsp Vanilla
-1/2 stick Butter
-3 tbsp Milk

Line a 9x13 casserole dish with graham crackers. Melt the butter in a small saucepan and add sugar. Beat the egg and milk together and add to butter/sugar mixture. Bring to a boil and stir constantly to incorporate. Remove from heat and add nuts, coconut and 1 cup of graham cracker crumbs. Pour the mixture over the graham crackers in the pan and spread evenly. Cover the gooey mixture with another layer of graham crackers.

Topping: Add all ingredients together in a bowl and spread over top layer of crackers.

Chill the dish of cookies in the freezer and then cut into squares. Enjoy!

Saturday, June 25, 2011

Cooking Camp: Iron Chef

Back in April during Spring break, Dusty and I took a trip to Billings to investigate where we would be moving this June. We stayed with his grandpa Gordie and enjoyed many meals eating out with him around Billings and had a great time. The first night we were there we ate at my new favorite restaurant Jakes and when driving to the restaurant, I noticed a store called The Copper Colander. I told Dusty he had to take me there so I could check out the store because I love anything and everything to do with kitchen supplies and gourmet foods.

The moment I stepped into The Copper Colander I knew that I had to work there. I knew it would be the greatest part-time job I would ever have. Who wouldn't want to be surrounded by the things they love? When we were walking out of the store I noticed a "now hiring" sign in the door. I was so disappointed that they were looking to fill a position in March because I wouldn't be moving until June and I knew there would be no way I could get a job then. The likelihood of them having a job opening would be slim to none.

So our trip ended and Dusty and I traveled back to Missoula to continue our lives at the UM with school. One day, for some reason, I got a wild hair and decided to just put my resume out there and mail it to The Copper Colander in some small chance that they might be looking to hire in June. I was not very optimistic, but still wanted to try. Sending out a resume and cover letter never hurt anyone, did it?

To my overwhelming surprise, about a week later I received a call from the manager, Stacy, asking me if I'd like to come in for an interview when I came back to Billings in May for apartment searching. They were actually going to have someone leave in June and were looking to fill a position by the time I got there! How crazy is that?

It just shows you that taking a chance never hurt a person and now I have the best job I could ask for right now! I love working at The Copper Colander and the people that work there have made me feel more than welcome to my new home of Billings. My favorite part about my job is that I get to assist teaching culinary classes at the store and it is a real treat. It doesn't even feel like work!

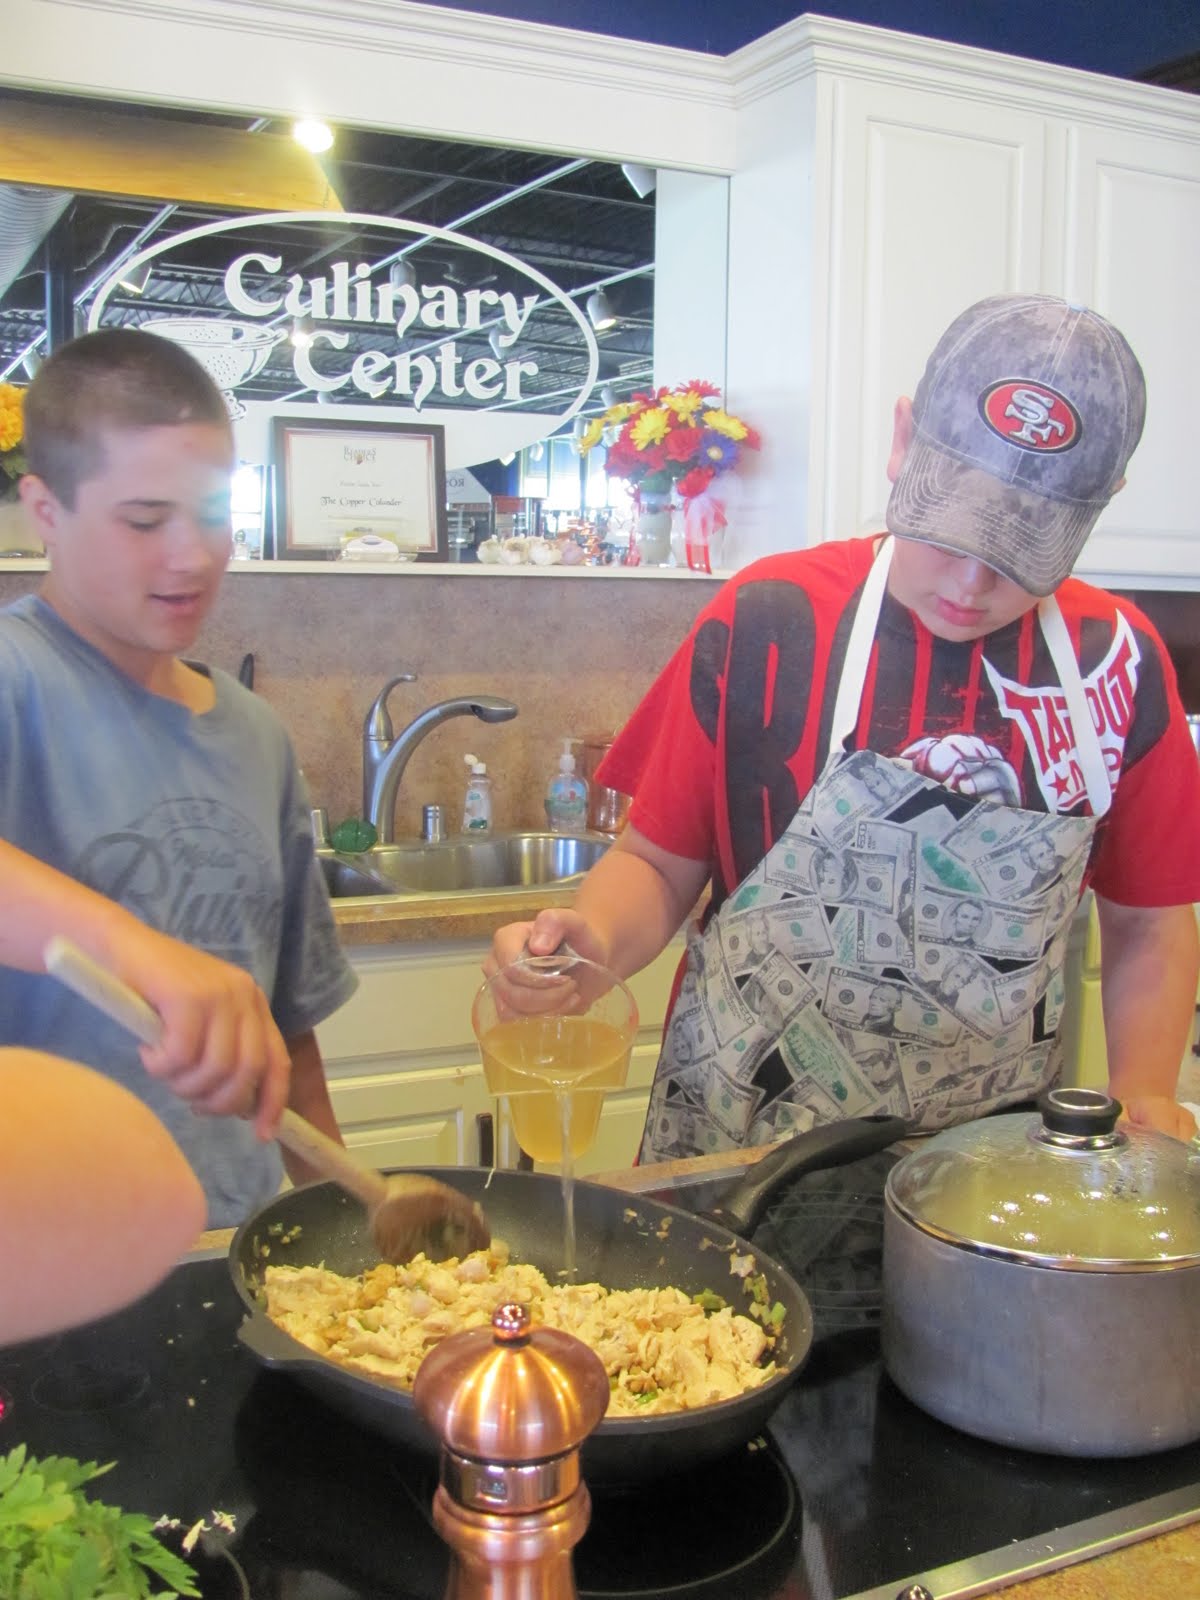
This week was the Junior High Culinary Camp themed "Iron Chef." Each day there was a featured ingredient that we focused on to make 3 different types of dishes per ingredient. On Wednesday, the ingredient was "Sweet Potatoes," so we made Chicken Satay with a Sweet Potato/Peanut Sauce, Sweet Potato Fries and Sweet Potato Scones.

On Thursday, the featured ingredient was "Spices" and the kids made Jerk Chicken, Herb Dip with Veggies and Snickerdoodles.


In the background you can see Kristinna. She is the one actually teaching the class and I assist her. She has been absolutely wonderful to me and she so much fun to hang out with!
We laugh because we love Vera Bradley and the same three foods: Cream Cheese, Bacon and Cheese.
Does anybody not love those three foods?

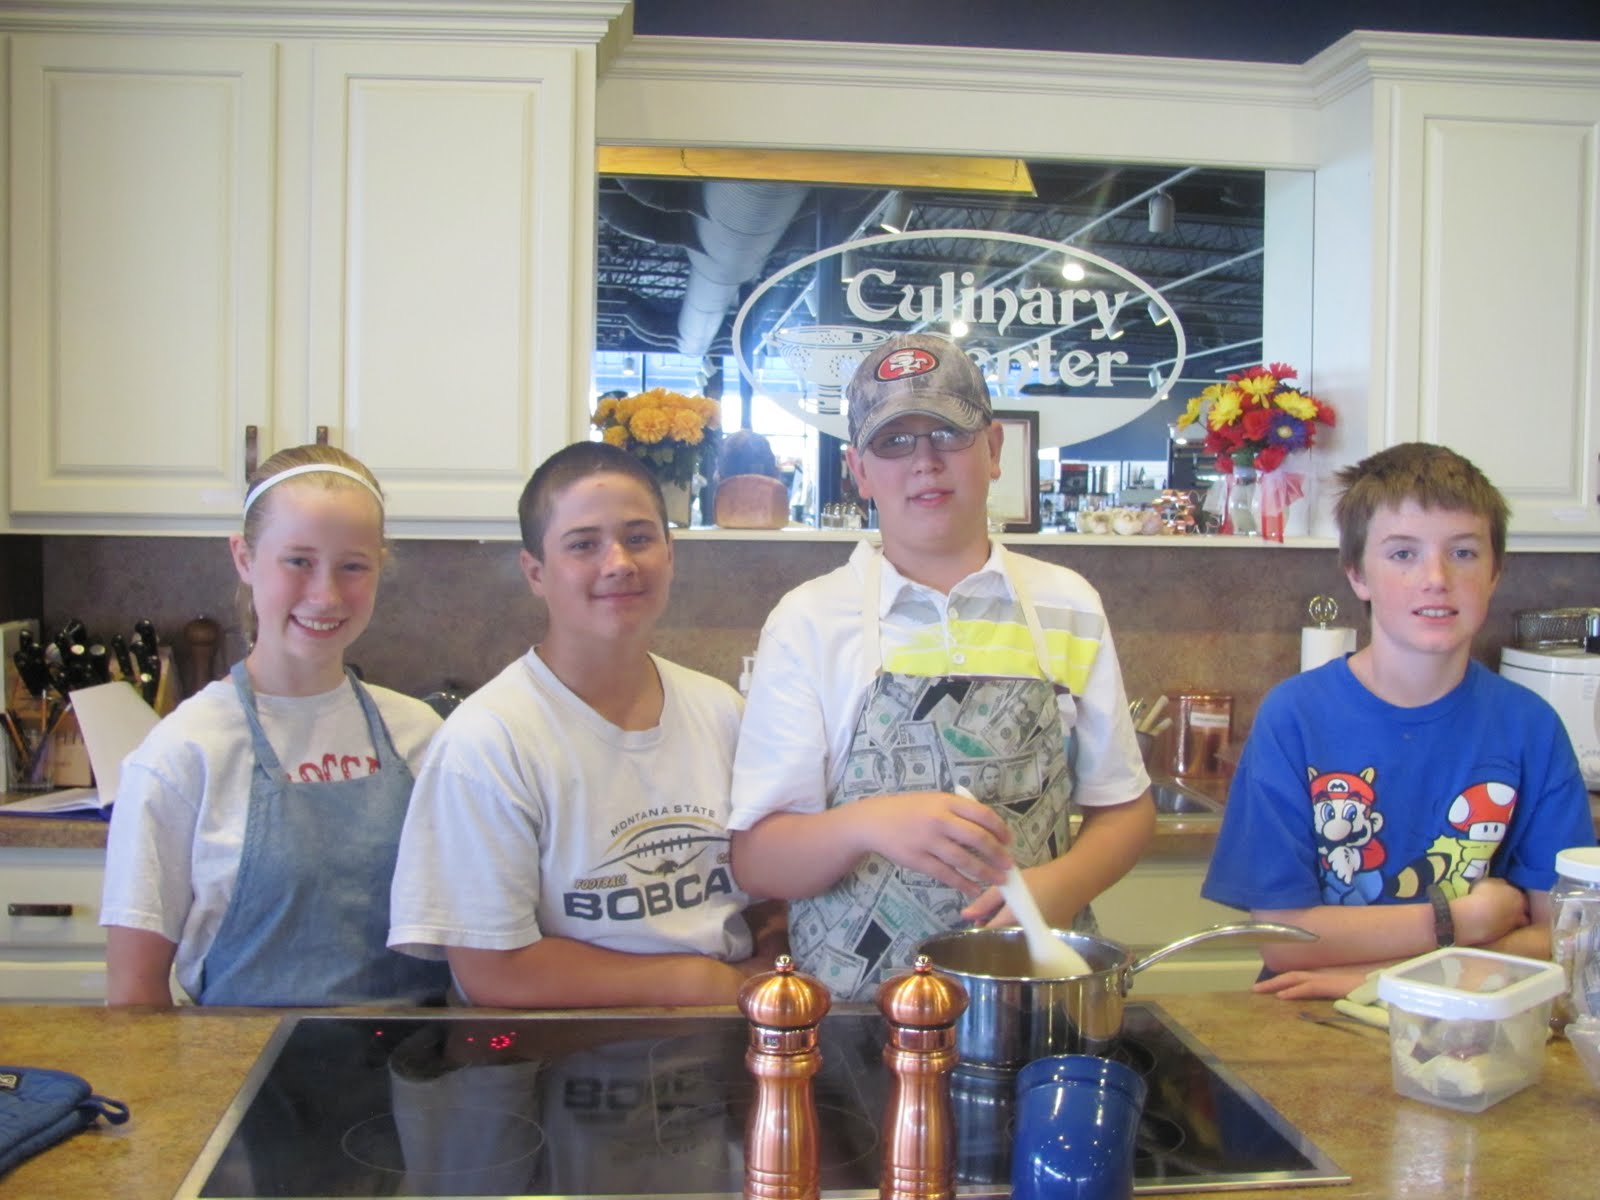
On the last day of Iron Chef Camp, the featured ingredient was "Quick Oats." The kids made Strawberry-Rhubarb Crisp, Oatmeal Cake with a Toffee Topping and No-Bake Cookies. To have some real fun in the kitchen, let loose and kick it up a notch, I split the 4 kids in 2 groups: Team Baking and Team Cooking. This is because two of the kids loved cooking more than baking, and vice versa.

I gave them the recipe for the No-Bake Cookies and told them they had 30 minutes in the kitchen alone without any of my help to create fun and creative No-Bake Cookies. After the cookies were complete, I would judge them on Creativity, Taste and Presentation. This is what they presented me with after 30 minutes....
On the right is Team Baking. They won the "Presentation" portion of the Iron Chef Challenge.
Team Cooking won the "Creativity" portion with the heart shaped cookie and Mickey Mouse cookie. But they both won in the "Taste" portion, so it was a tie!

We had such a blast at this weeks cooking camp with the kids! It amazed me how much these kids love food. I think they watch Food Network as much as me, which is a lot! I can't wait for next months cooking camp of "Cupcake Wars." It's gonna be a blast!
Man I love my job!

Wednesday, June 22, 2011

Pig-Out Cookies

These cookies are naughty, delicious and truly sinful! Is there anything better than the combination of chocolate, peanut butter and bacon? I think not. I can't really give much more of an introduction than that because these cookies speak for themselves!

Here is what you are going to need for 1 dozen cookies:
-1-1/4 cup All Purpose Flour
-1/4 tsp Baking Soda
-1/4 tsp Baking Powder
-1/8 tsp Cinnamon
-Pinch of Chile Powder
-1/4 tsp Kosher salt
-5 strips of cooked Bacon-crumbled
-2 tbsp reserved Bacon Fat Drippings
-4 tbsp Butter (room temperature)
-1/2 cup Creamy Peanut Butter
-1/2 cup White Sugar
-1/2 cup Brown Sugar
-1 Egg
-1 tsp Vanilla Extract
-1/3 cup Semisweet Chocolate Chips

Preheat the oven to 350 degrees (F) and line a baking sheet (or 2) with parchment paper.

In a large mixing bowl combine the flour, baking soda, baking powder, cinnamon, chile powder and salt. With a stand mixer, beat the butter and reserved bacon fat drippings on medium-high until smooth, about 1 minute. Beat in the white and brown sugar until creamy, about 4 minutes. Then add the egg and vanilla and beat until fluffy for about 2 minutes.

Reduce the speed of the mixer to low and add the flour. Mix until just combined and then add in the chocolate chips and crispy bacon.

For the cookie dough into 12 even sized balls and arrange them on the cookie sheet about 2 inches apart from each other. Flatten the cookie balls with your fingers and then bake for 12-14 minutes until golden brown. Let the cookies cool for about 2 minutes on the baking sheet before transferring to a cooling rack. Pour yourself a giant glass of milk and enjoy yourself a seriously sinful cookie!

Tuesday, June 21, 2011

Zoo Montana

Today I had the day off, so Dusty took me on a really fun date to the Zoo! It's a small zoo, but it was so much fun to walk through the park looking at the different animals with Dusty.

When we first got to the zoo I was so excited to see Peacocks just casually walking around and hanging out with everyone. They were every where!
The Peacocks were trying to grab some lunch...

Hanging out with the Clydesdale horses in their pasture...

And showing off for us!

The peacocks were beautiful, but my favorite was this guy...the Red Panda!
Can I take you home with me???
What are you?
 Cat? Bear? Raccoon?
I don't care. I love you.
How about a hug?
No?
Okay. Maybe next time.

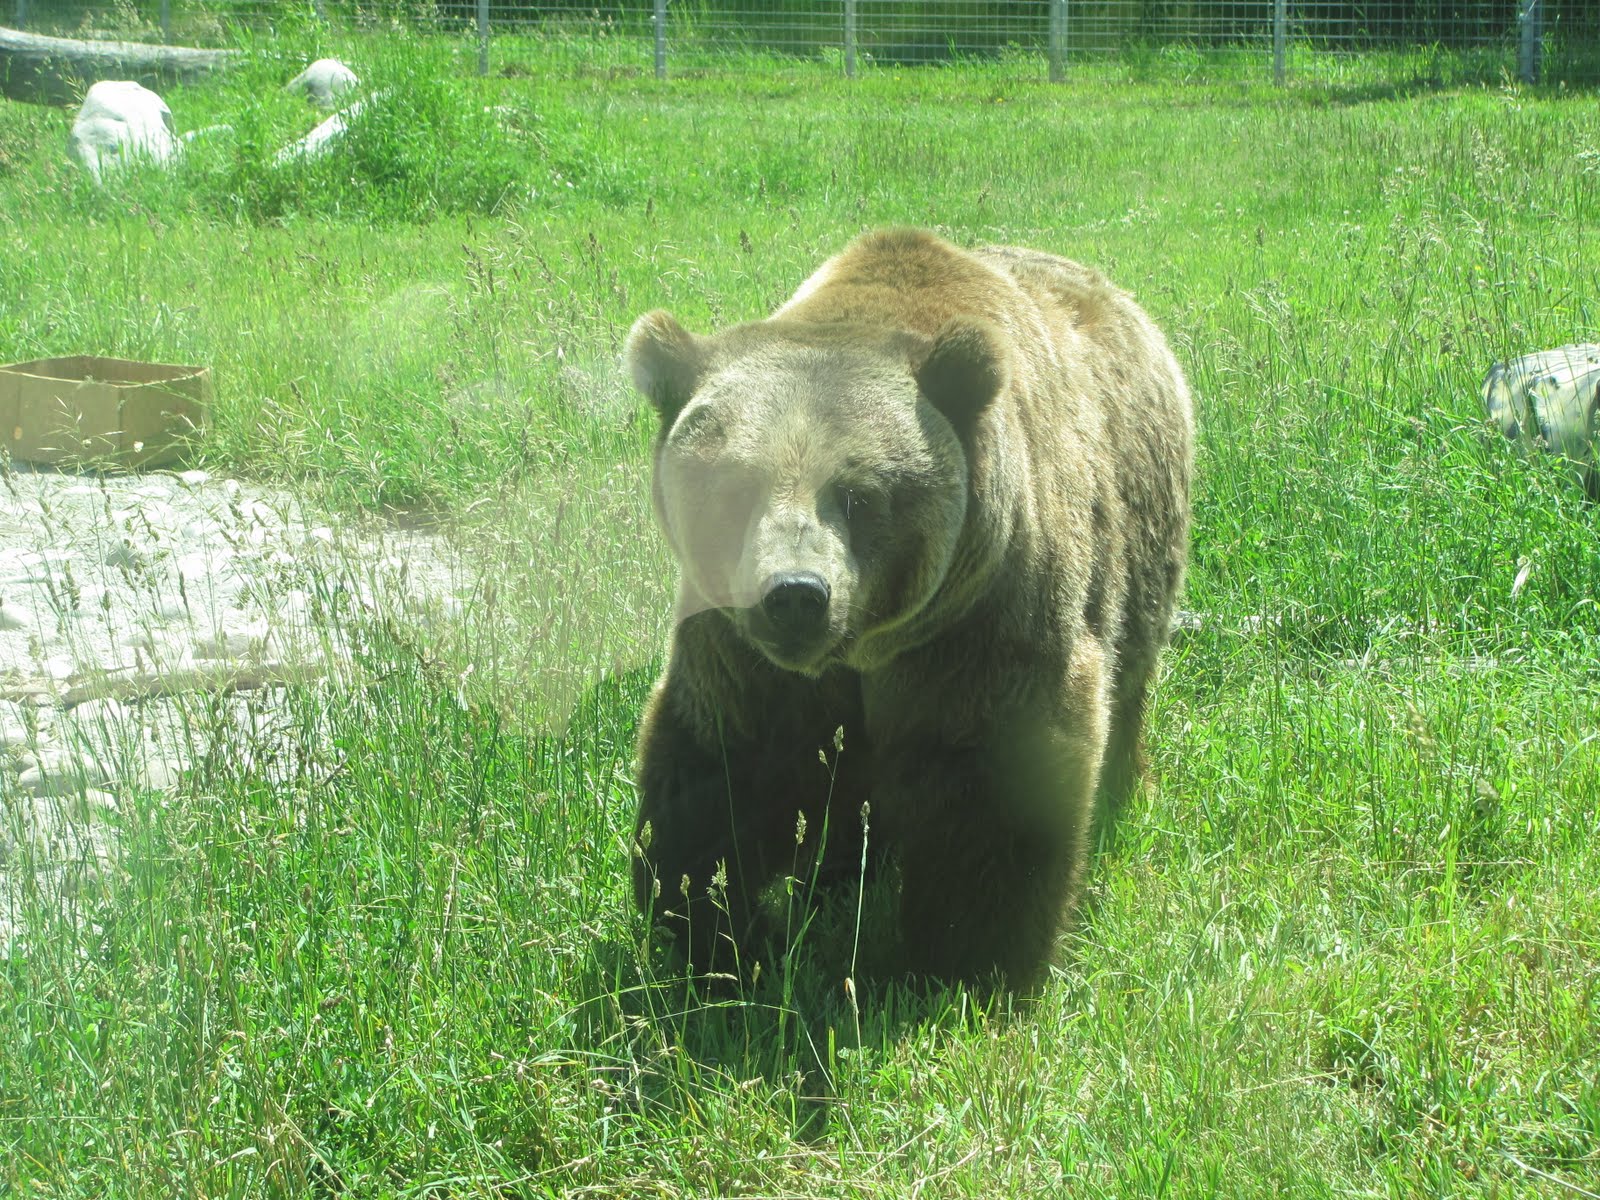
After leaving my new best friend, Mr. Red Panda, Dusty and I headed over to the Grizzly Bear exhibit. The bear was so adorable and active with the crowd, I loved it!
I think I was more excited than the preschoolers standing next to me because he was so cute!

The people who work at the zoo had hidden snacks around various parts of his area for him to find.
I found you!

Then the grizzly bear saw us and wanted us as a snack!

Ahhh! I was so excited to see him up close!
What a gorgeous bear!

He wanted to show off for us, so he went for a dip in his pool...

And I gobbled up every moment of it!
It was sooo cute!
And it was so hot, I wanted to join him!

By 2:00 this afternoon it started getting really hot, so Dusty and I left the zoo and headed to our favorite place for lunch, Red Robin! It was a perfect date and a really great day off!  

Saturday, June 18, 2011

The Best Chicken Salad EVER!

Last night was truly a treat and an honor because I got to assist a cooking class with Chef Cynthia at work last night. Chef Cynthia is an instructor at the Fortin Culinary Center here in Billings and teaches often at the Copper Colander and her classes I've heard are always really educational and incredible. So you wouldn't believe how excited I was when the culinary class coordinator asked me assist her last night for the class, "Cooking for a Crowd."

This chicken salad is a revelation when it comes to chicken salad. Would you believe me if I told you there was no mayonnaise in this chicken salad???
That's right...no mayo!

The bright flavors, colors and freshness of this salad are unbelievable and the dressing is so light and delicious! The best part of the class last night was that there were leftovers and I got to take them home. SCORE! And if it could get any better, this chicken salad tastes better today than it did last night. Is this love? I hope so.


Here is Chef Cynthia's recipe for "New Age Chicken Salad"...
-Meat from 1 Roasted Chicken
-1 small can of Pineapple Chunks, drained and finely diced (1/4")
-1 Red Bell Pepper, finely diced (1/4")
-1/2 small Red Onion, finely diced (1/4")
-Scallion washed and cut into 1/4" slices, greens only

Fresh Tarragon Vinaigrette
-1/4 cup Cider or Red Wine Vinegar
-2 tsp Dijon Mustard
-Zest and juice from 1/2 Lemon
-1 cup Olive Oil
-Leaves from 2 sprigs fresh Tarragon, chopped
-Salt and Pepper to taste

1. Dice chicken into bite-size pieces and place in a large mixing bowl. Add diced pineapple, red pepper, red onion and scallion.

2. Prepare vinaigrette. Whisk together vinegar, mustard, lemon zest and juice. Add olive oil in a slow steady stream, whisking continuously. Add tarragon and season to taste with salt and pepper.

3. Add vinaigrette to salad contents and toss to blend. Salad may be preapared to this point a day ahead and stored in the refrigerator.

YUMMY!

Wednesday, June 15, 2011

Shanghai Pasta

I have learned 2 new things about my kitchen....

#1 My apartment has absolutely zero natural lighting.
None. Nada. Nothing. Zip.
Which means I have to take the picture of my final dish next to window sill in the dining room or outside. This also means that you and I are going to have to accept some of my nasty photos with my fluorescent lighting. I hope you still love me!

#2 My kitchen has this...
A pull out, built in cutting board next to my stove.
Can you say convenient???
I think it's pretty awesome if I do say so myself ;)

You wanna know what else is awesome? This pasta dish I'm about to make before your eyes....Shanghai Pasta!

Here is what you are going to need for 2 servings:
-4 oz of Linguine Pasta
-1-1/2 tbsp Soy Sauce
-1/2 tbsp Plum Sauce
-1/2 tbsp Sesame Oil
-1/2 Green Bell Pepper (chopped)
-1/2 cup trimmed Snow Peas
-1 tbsp Cooking Oil
-6 oz of peeled/deveined large Shrimp (without tails)
-1/8 tsp dried Ginger or 1/2 tsp fresh grated Ginger
-1/8 tsp Pepper
-1 clove of minced Garlic
-1 Green Onion-cut into 1" pieces on the bias
-1 tsp of Sesame Seeds

First start the prep work by peeling, deveining and removing the tails of the shrimp.
I don't know about you, but whenever I cook with shrimp, I always take off the tails. They just get in the way and are annoying when you are trying to eat them in your dish.

Get your pasta cooking at this point.

Then grab the 3 amigos: Plum Sauce, Sesame Oil and Soy Sauce.

Combine them in a small dish and stir to combine. Set aside for later.


In a large skillet, stir-fry the bell pepper and snow peas at medium-high heat in hot canola oil for 5 minutes. Add shrimp, ginger, black pepper and garlic and cook for 2 to 3 minutes until shrimp are opaque.
Did I not tell you the lighting in my kitchen is absolutely horrible???
I warned you!

Stir in the sauce and drained pasta. Cook for 3 to 4 minutes until all the ingredient are heated through.
Serve with green onions and sesame seeds.
Enjoy!


*On a side note*
Thank you for all your prayers and support for my Grandpa with his Quadruple Bypass surgery today. He did fantastic! When he came out of anesthesia and they removed his breathing tube he said, "I'm one tough shit!" He's a hero and a total bad ass! I'm so proud of my Grandpa for being such a champ with his surgery. My family is just glad that it's over with!
Love you Grandpa!
Related Posts Plugin for WordPress, Blogger...